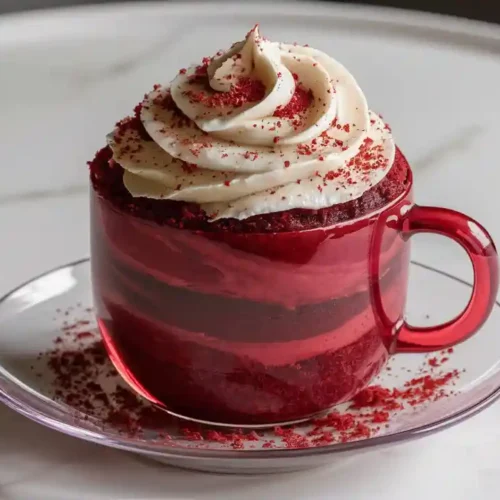
5 Minute Red Velvet Mug Cake
Craving a quick dessert? This 5-minute Red Velvet Mug Cake is moist, delicious, and made with simple pantry staples.
Ingredients
Dry Ingredients:
- 4 tablespoons all-purpose flour – The base for your soft and fluffy cake.
- 2 tablespoons granulated sugar – Adds just the right amount of sweetness.
- 1 teaspoon unsweetened cocoa powder – For that signature red velvet flavor with a hint of chocolate.
- ⅛ teaspoon baking soda – Helps the cake rise beautifully in the microwave.
- Pinch of salt – Enhances the overall flavor and balances the sweetness.
Wet Ingredients:
- 3 tablespoons milk – Whole milk or buttermilk works best for a moist texture but any milk will do.
- 1 tablespoon vegetable oil – Keeps the cake tender and rich.
- ¼ teaspoon vanilla extract – Adds depth and rounds out the flavors.
- 1-2 drops red food coloring – For that iconic red velvet appearance optional but recommended.
Optional Toppings:
- Cream cheese frosting – A must-have for classic red velvet!
- Whipped cream or ice cream – Perfect for a quick and indulgent finish.
- Chocolate chips or sprinkles – Add fun and flavor to your mug cake.
Instructions
Prepare Your Mug:
- Start with a microwave-safe mug (12 ounces or larger) to give the cake room to rise.
- Lightly grease the inside of the mug with butter or non-stick cooking spray to make cleanup easier.
- Combine the Dry Ingredients:
In the mug, add:
- 4 tablespoons of all-purpose flour
- 2 tablespoons of granulated sugar
- 1 teaspoon of unsweetened cocoa powder
- 1/8 teaspoon of baking soda
- A pinch of salt
- Mix everything thoroughly with a small whisk or fork, ensuring there are no lumps.
Add the Wet Ingredients:
- Stir in the following ingredients until you get a smooth batter:
- 3 tablespoons of milk (or buttermilk for a tangier flavor)
- 1 tablespoon of vegetable oil
- 1/4 teaspoon of vanilla extract
- 1-2 drops of red food coloring (optional, but it gives the cake its signature look).
- Mix gently but thoroughly to combine the wet and dry ingredients evenly.
Microwave the Cake:
- Place the mug in the microwave and cook on high for 60-90 seconds.
- Start with 60 seconds, then check to see if the top looks set. If it’s still slightly gooey, microwave in 10-second increments until done. Avoid overcooking, as it can make the cake dry.
Let It Cool:
- Allow the cake to rest for 1-2 minutes after microwaving. This helps it finish cooking and makes it easier to enjoy without burning your tongue!
- Add Your Favorite Toppings:
- Top with cream cheese frosting for a classic red velvet finish.
- Alternatively, add a dollop of whipped cream, a drizzle of chocolate syrup, or a scoop of vanilla ice cream for extra indulgence.
Dig In and Enjoy:
- Grab a spoon and savor your homemade Red Velvet Mug Cake! It’s the perfect quick dessert for late-night cravings or a sweet midday treat.
Notes
Chef Sarah, consider emphasizing the versatility of the Red Velvet Mug Cake in your post—like how it can be easily adapted for vegan or gluten-free diets.